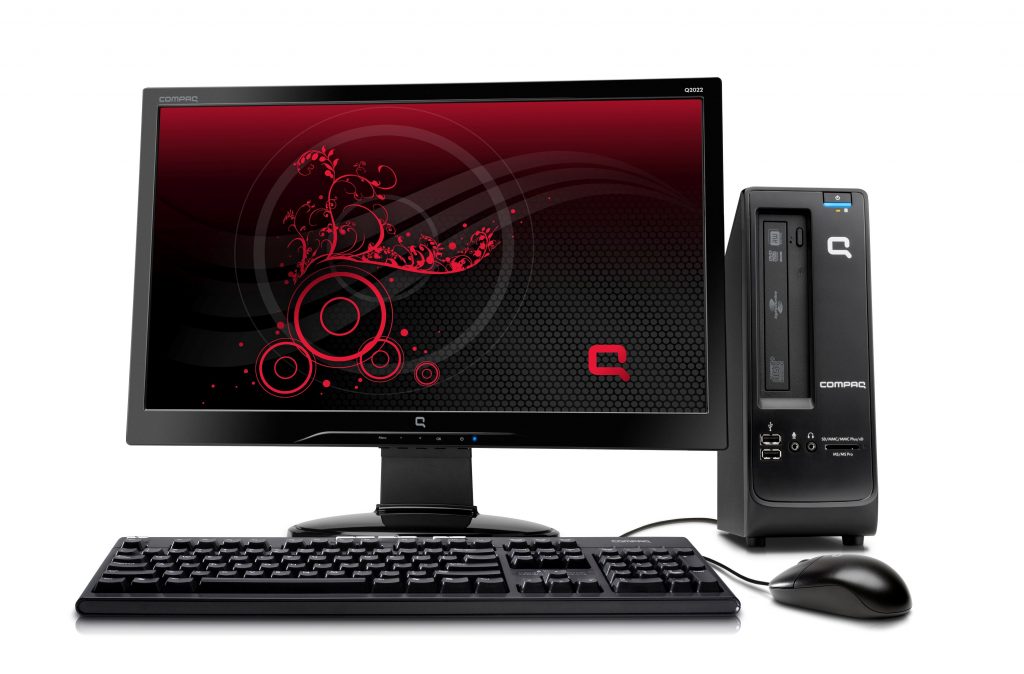
Building Your Own PC
When Verge made a video about building a PC, they let an amateur do it and it triggered a lot of PC enthusiasts all over the Internet. Videos upon videos and articles upon articles were posted about why it was a bad guide. It became a huge deal for the PC community because it could be considered misinformation.
But how do you build a PC if that was the wrong way? Well, here’s a quick rundown on how to do it: First, Buy all the parts you need and make sure they are compatible with each other. Next, Take the motherboard and attach the processor and the RAMs. Then take the housing of your PC and attach the motherboard and the power supply. Manage the wires so they don’t get tangled around and connect them now. Finally, connect the GPU and the processor’s cooling fan.
Buying Parts
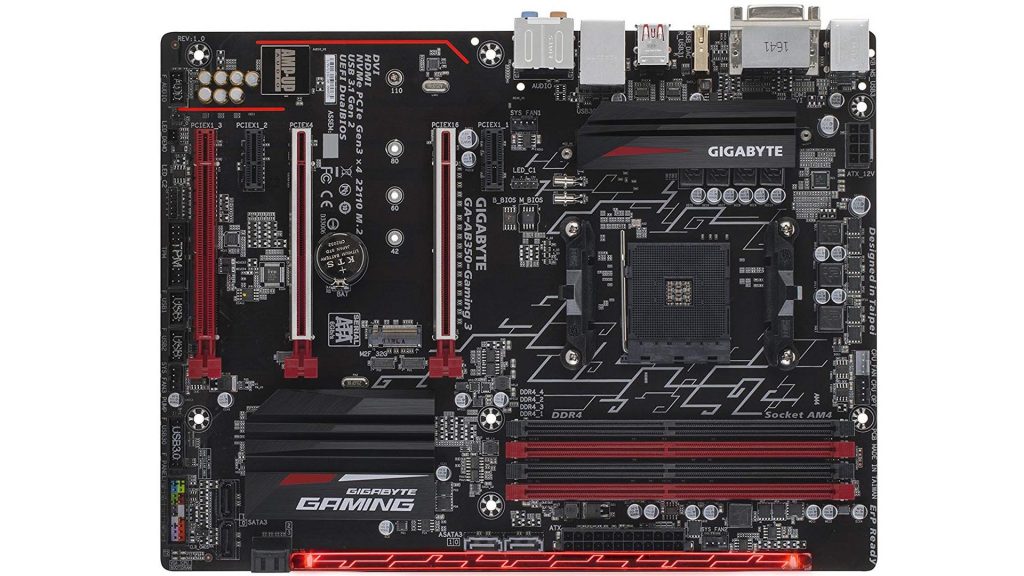
When buying parts you have to check the compatibility of each part with each other; the size of the motherboard vs the size of the case, for example. Another example to watch out for is the compatibility between the RAM, the motherboard, and the processor. There’s also the compatibility between the GPU and the motherboard. The motherboard and the case affect almost every part needed. For the case, you need to mind the size of the motherboard, the size of the power supply, the size of the fans, and the size and number of extensions. For the motherboard, you need to mind the compatibility between it and the GPU, the compatibility between it, the CPU and the RAM, and the compatibility between it and the storage. Then the power supply must be able to provide enough power to the motherboard, and the GPU, the fans, and must also have the right connectors. Different parts have different compatibilities, so make sure to read their specs carefully and try to match them so that the PC will run at optimal performance.
Attaching Parts
If it doesn’t fit don’t force it. You’ll just break something. If you did the first step properly and researched the right parts you won’t encounter any hard fits. If it doesn’t fit, check for the parts’ specifications and see if they’re compatible once more or check the manual to see if you’re connecting the part properly. Remember that when finally connect the CPU’s cooler and you opted to add some thermal paste, only add just a small dab.
Cable Management
Then there’s cable management, which is fixing your cables so they don’t occupy the space in front of your motherboard, where the wind should be coming through from the fans. If the air current is blocked by wires, it could contribute to the parts’ increasing in heat, thereby reducing its performance over time. Unless they’re too short, cables should go through behind the motherboard and tied with zip ties. Try not to have wires overlapping each other. If they are too short to go through behind the motherboard then just connect them directly, but make sure to tie up any extra length so they’ll look neat and tidy.
Cooling System
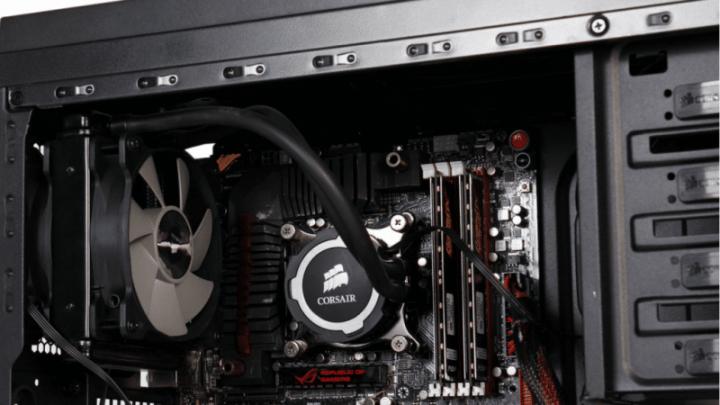
The cooling system can be either of the two: Air Cooling or Liquid Cooling. When choosing a cooling system, check the case’s compatibility. Sometimes cooling systems get in the way of your other parts, particularly the RAM. Needless to say, you should look for cases that have mounts for cooling systems that give ample space between it and the other parts of your computer.
Conclusion
Now, these are all just tips and it isn’t going to tell you what specific parts you’ll have to buy because these are all general and what parts that might be today’s standards might not be the standard tomorrow, or next year. A good example is that the storage of PCs is currently in transition from using mSATA to M.2, and by the time you might read this M.2 is the norm, and changing the instructions on how to build a computer once again.